Every API call on Wallaby Token is billed per request against a prepaid balance. This guide walks through a real $20 top-up we ran on our own account, including the two pitfalls we hit along the way. Disclosure: we operate this service; the screenshots come from our own test account.
What you need
- A Wallaby Token account (new accounts start with $0.50 in free trial credit)
- A payment method that supports international online payments in USD:
- Visa / Mastercard with international online payments enabled, or
- Apple Pay / Google Pay linked to such a card
One caveat we confirmed the hard way: some domestic-only debit cards are declined by international processors even when online payments are enabled for domestic merchants. If your card is declined, that is the most likely cause — try Apple Pay or a different card before assuming the site is broken.
Step 1 — Open your wallet
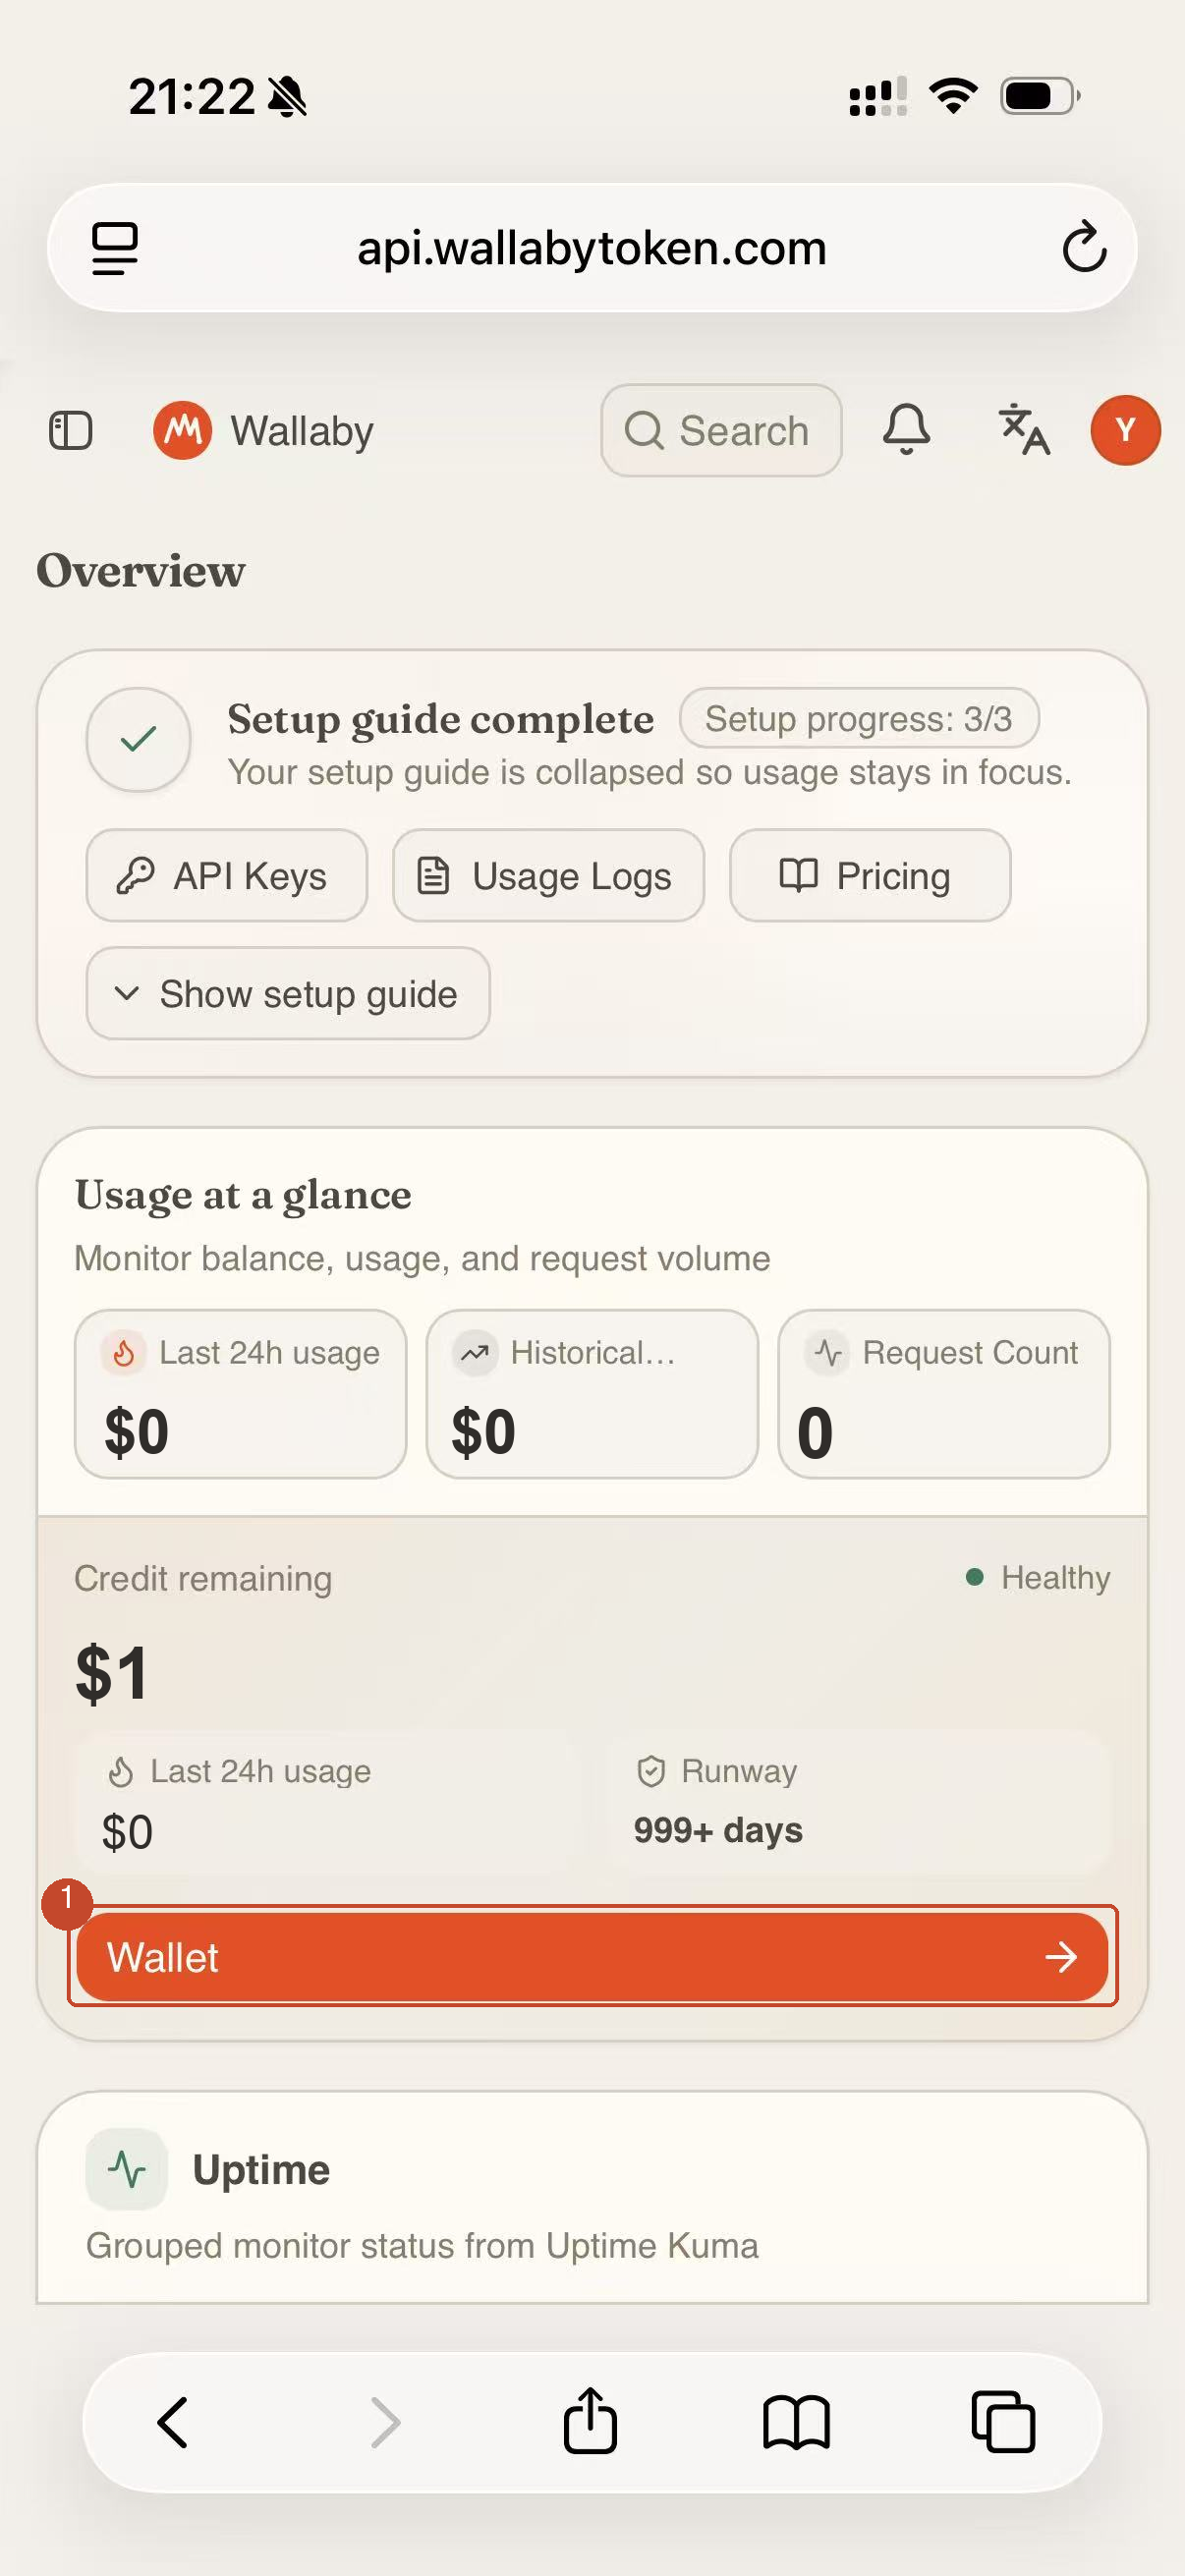
Sign in to the console and open Wallet from the dashboard ①.
Step 2 — Pick an amount
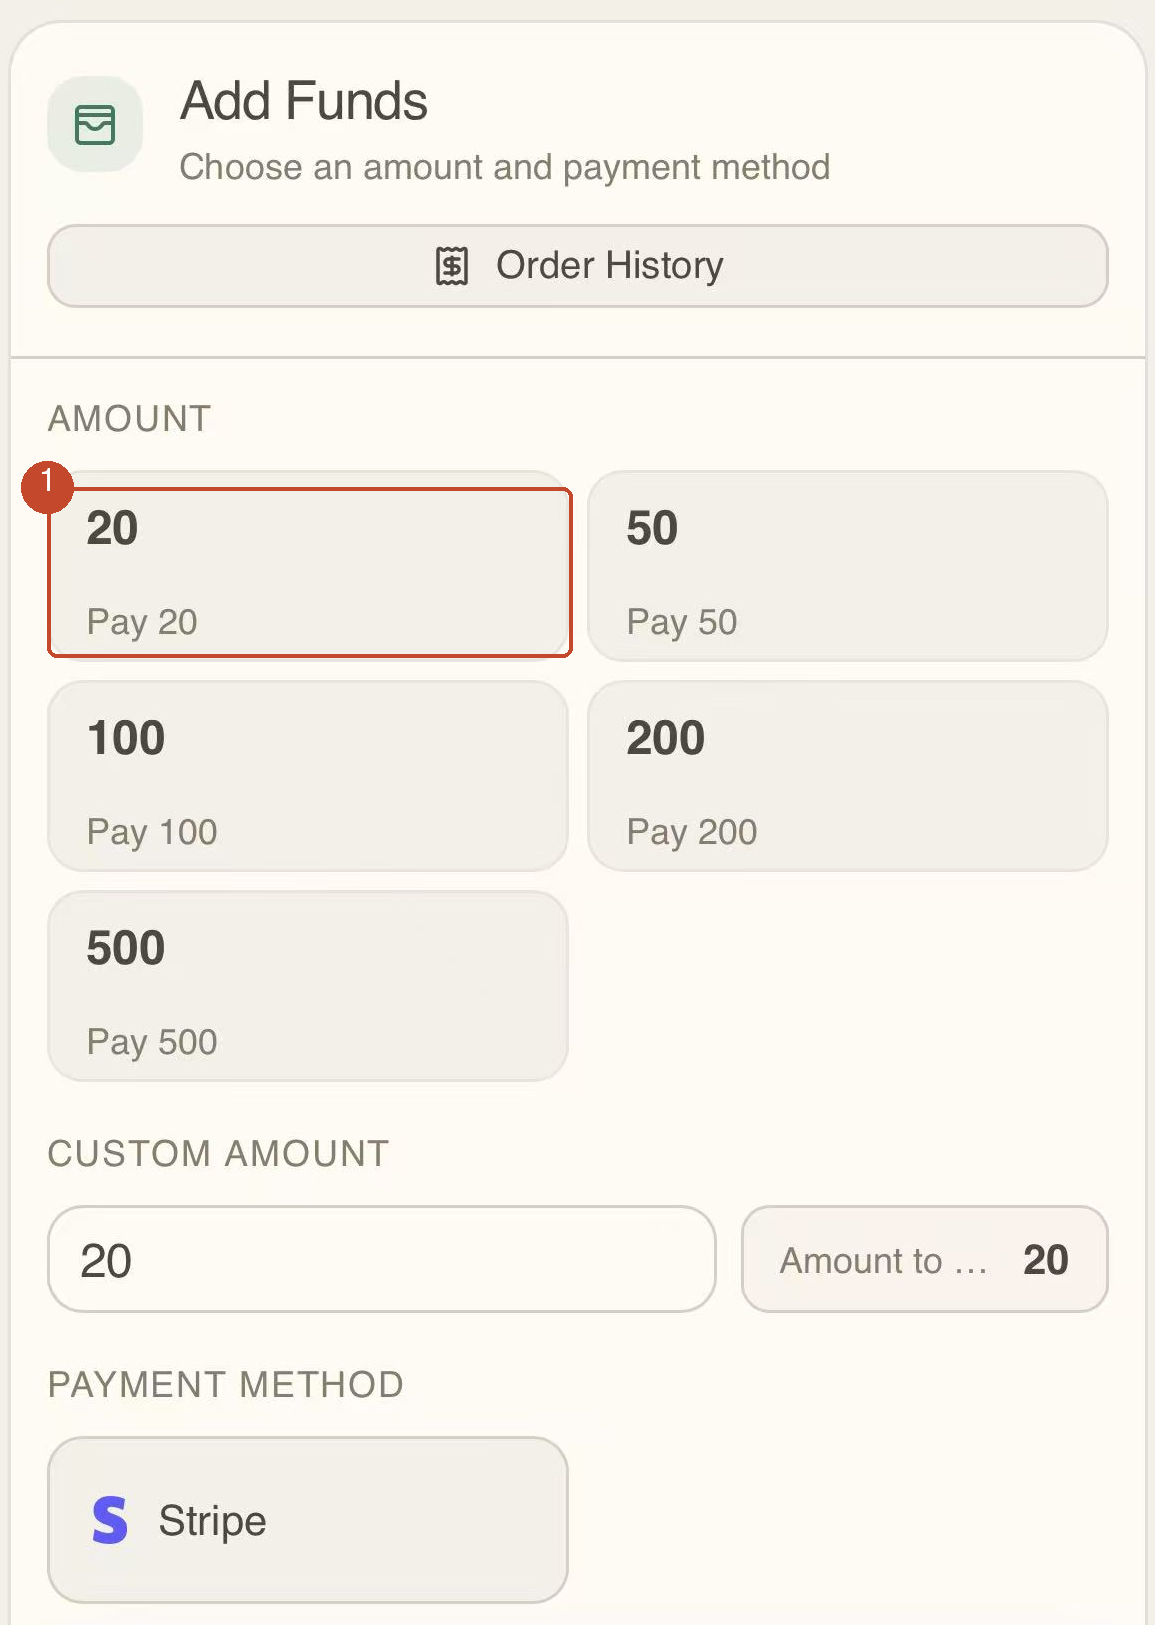
Choose $20, $50, $100, $200, or $500, or enter a custom amount ①. The minimum top-up is $20 — more on why below.
Step 3 — Confirm the payment
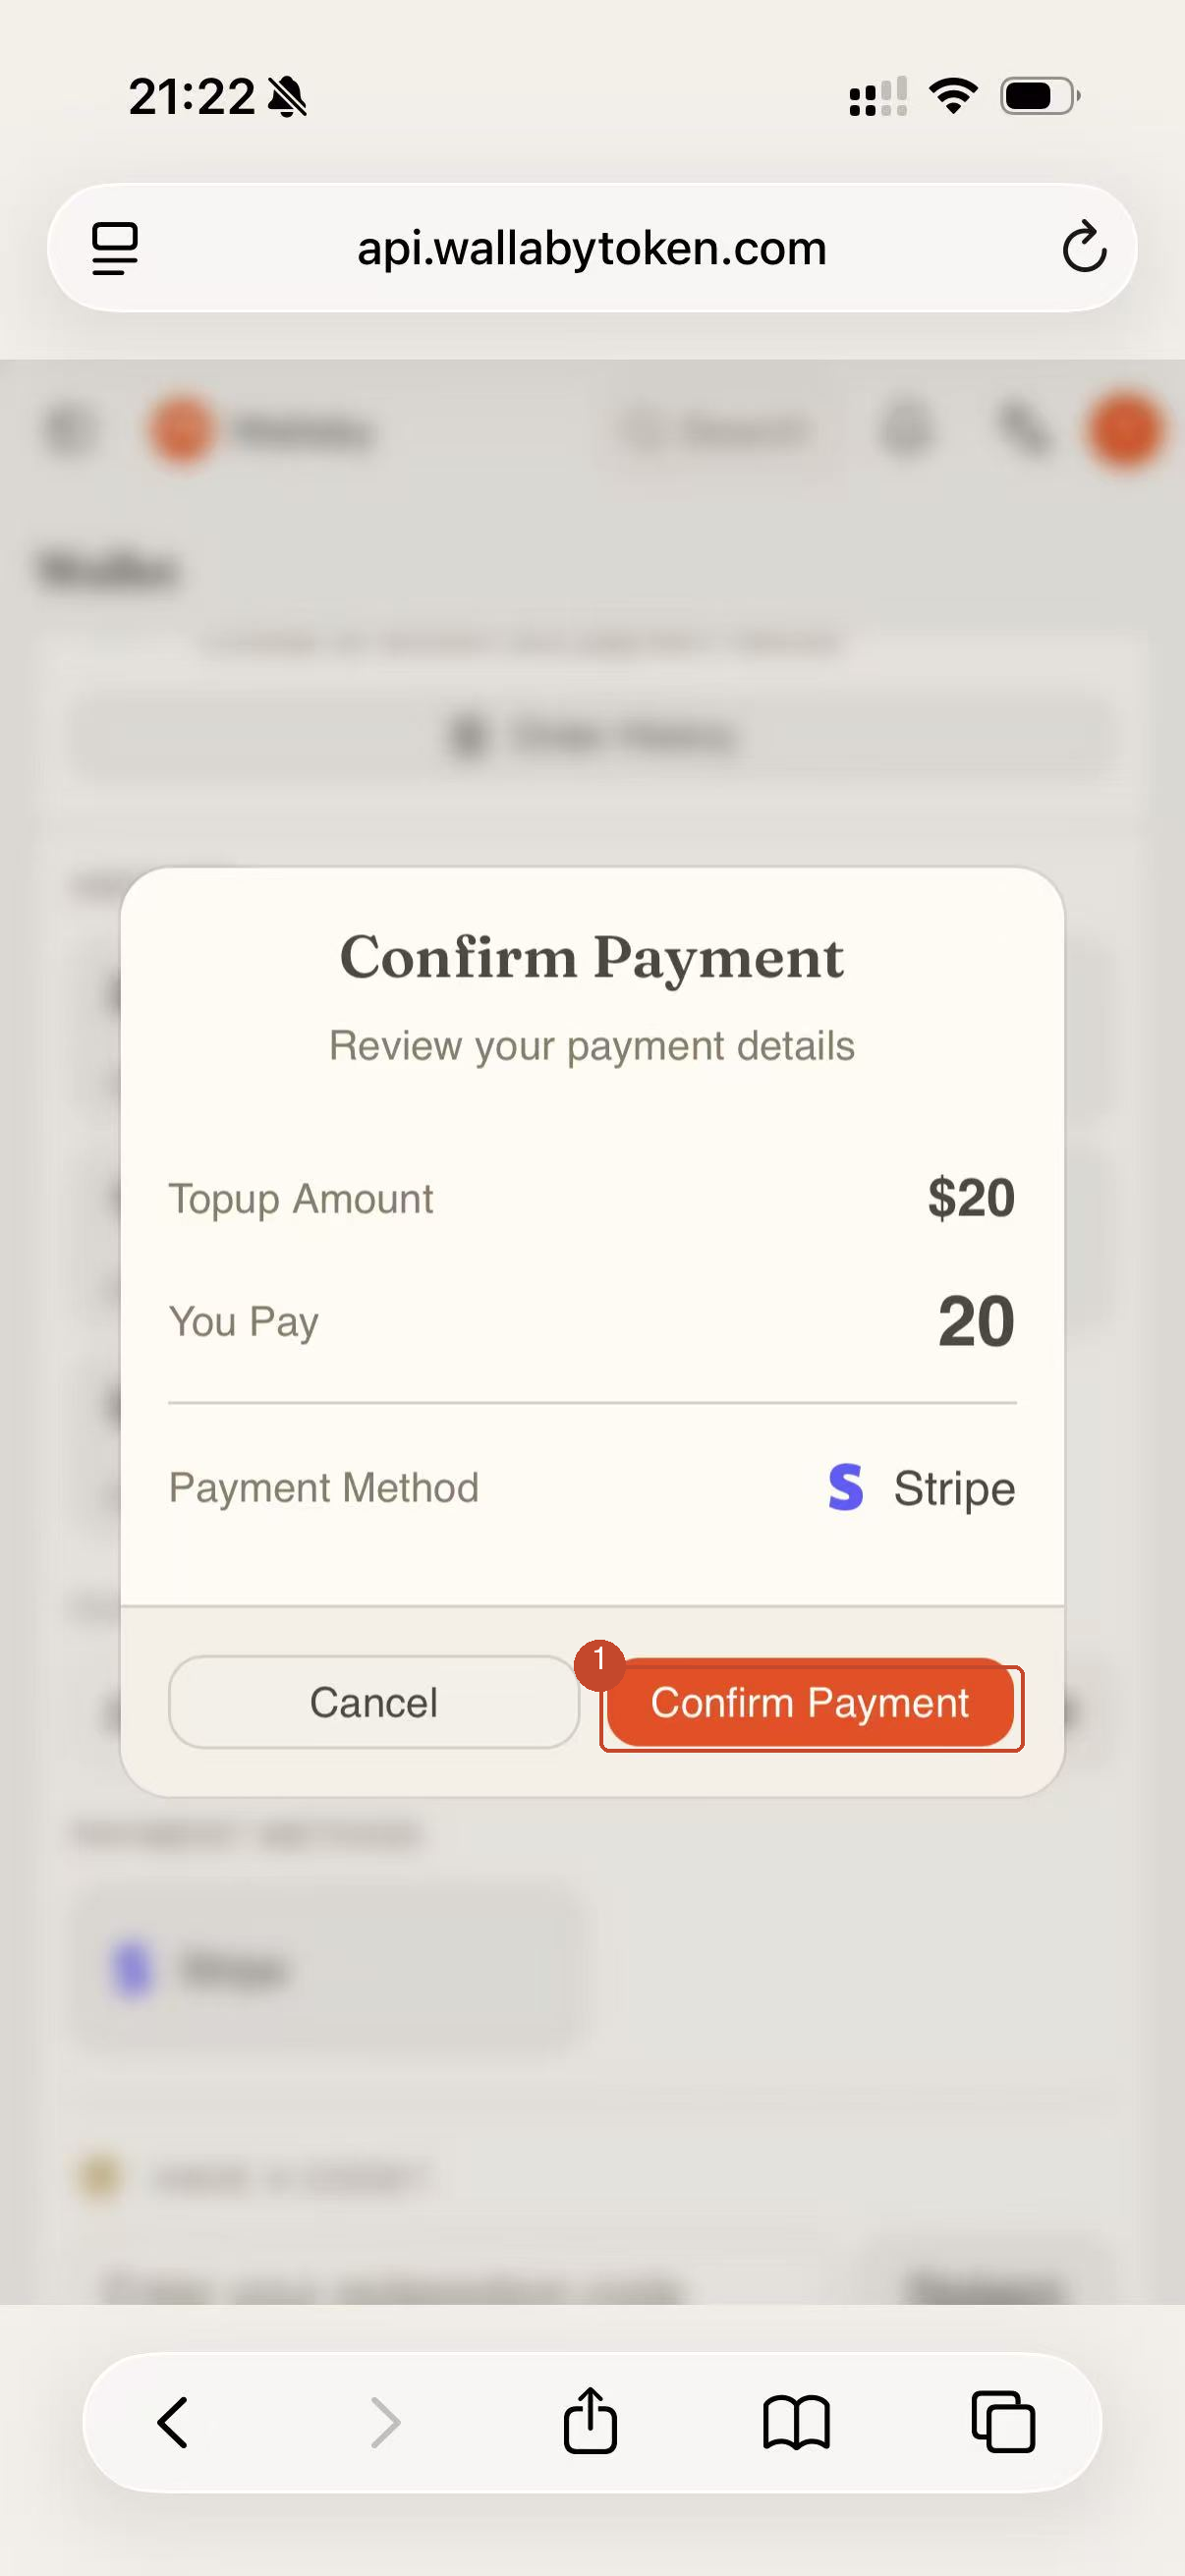
Review the amount and payment method in the dialog, then hit Confirm Payment ①.
Step 4 — Allow the checkout window
After confirming, a "Redirecting to payment page…" toast appears and the Stripe checkout opens in a new window. This is the first pitfall: if your browser blocks pop-ups, nothing happens after this toast. Allow pop-ups and redirects for the site once, and every later top-up just works.

Step 5 — Pay with Stripe checkout
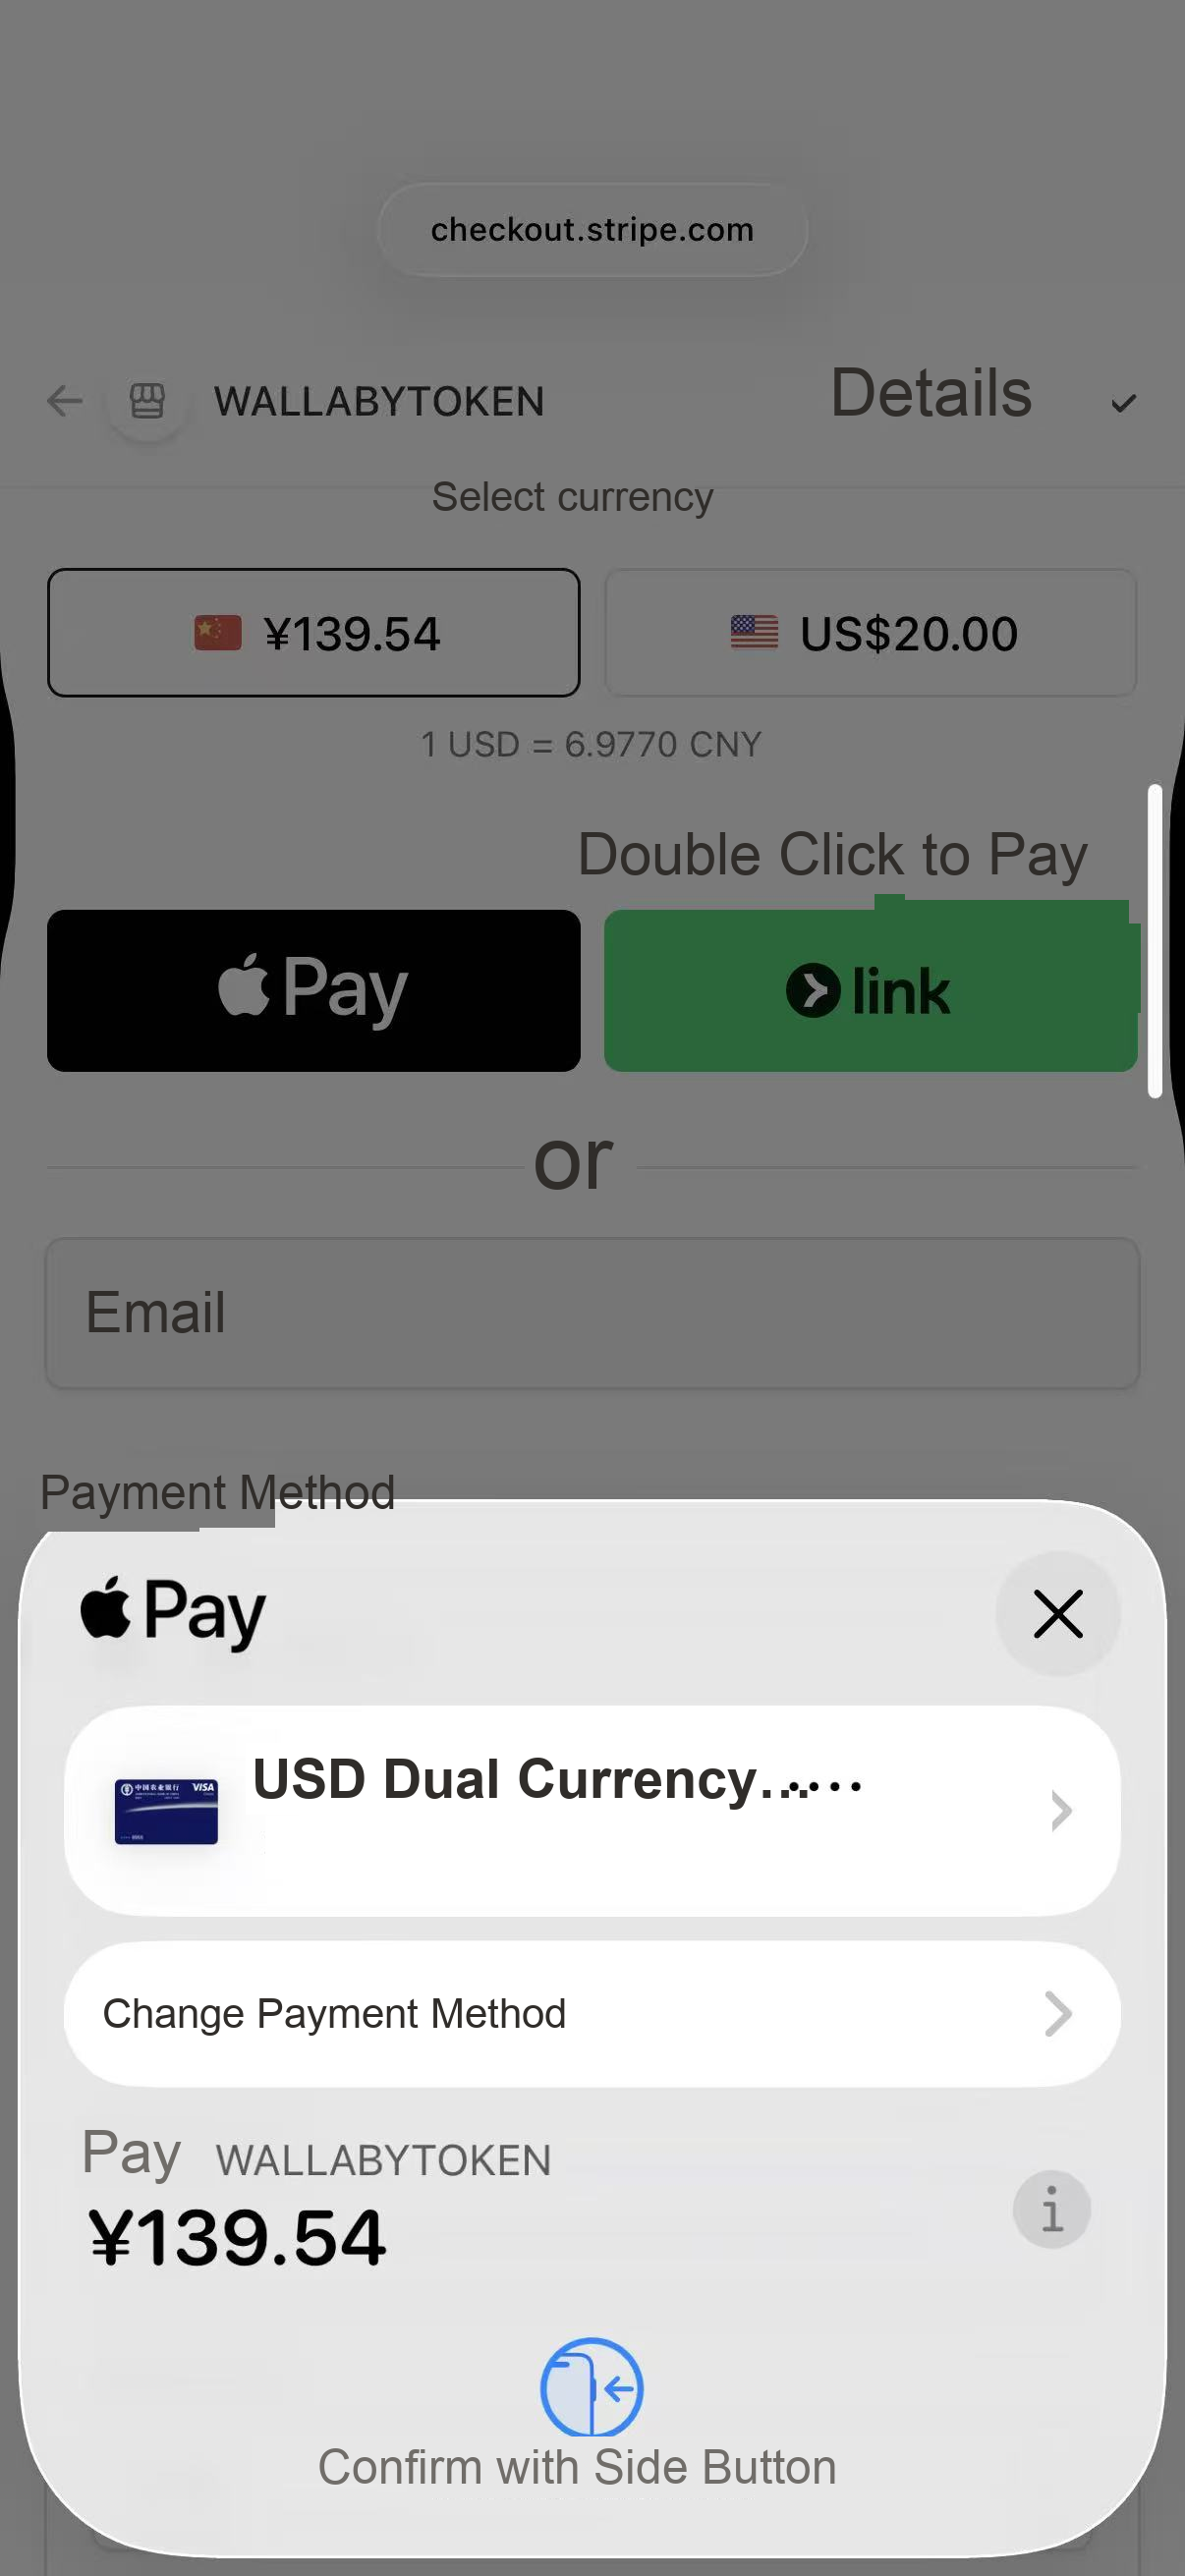
In the checkout window, pay with a card or an eligible wallet (Apple Pay / Google Pay appear automatically on supported devices). All amounts are in USD; your bank or wallet handles the conversion at its own rate.
Step 6 — Balance lands in seconds
After payment succeeds, a webhook credits your account automatically — in our test the balance updated within a few seconds, with no manual step ①. Your balance is credited the full amount you paid; card processing fees are our cost, not yours.
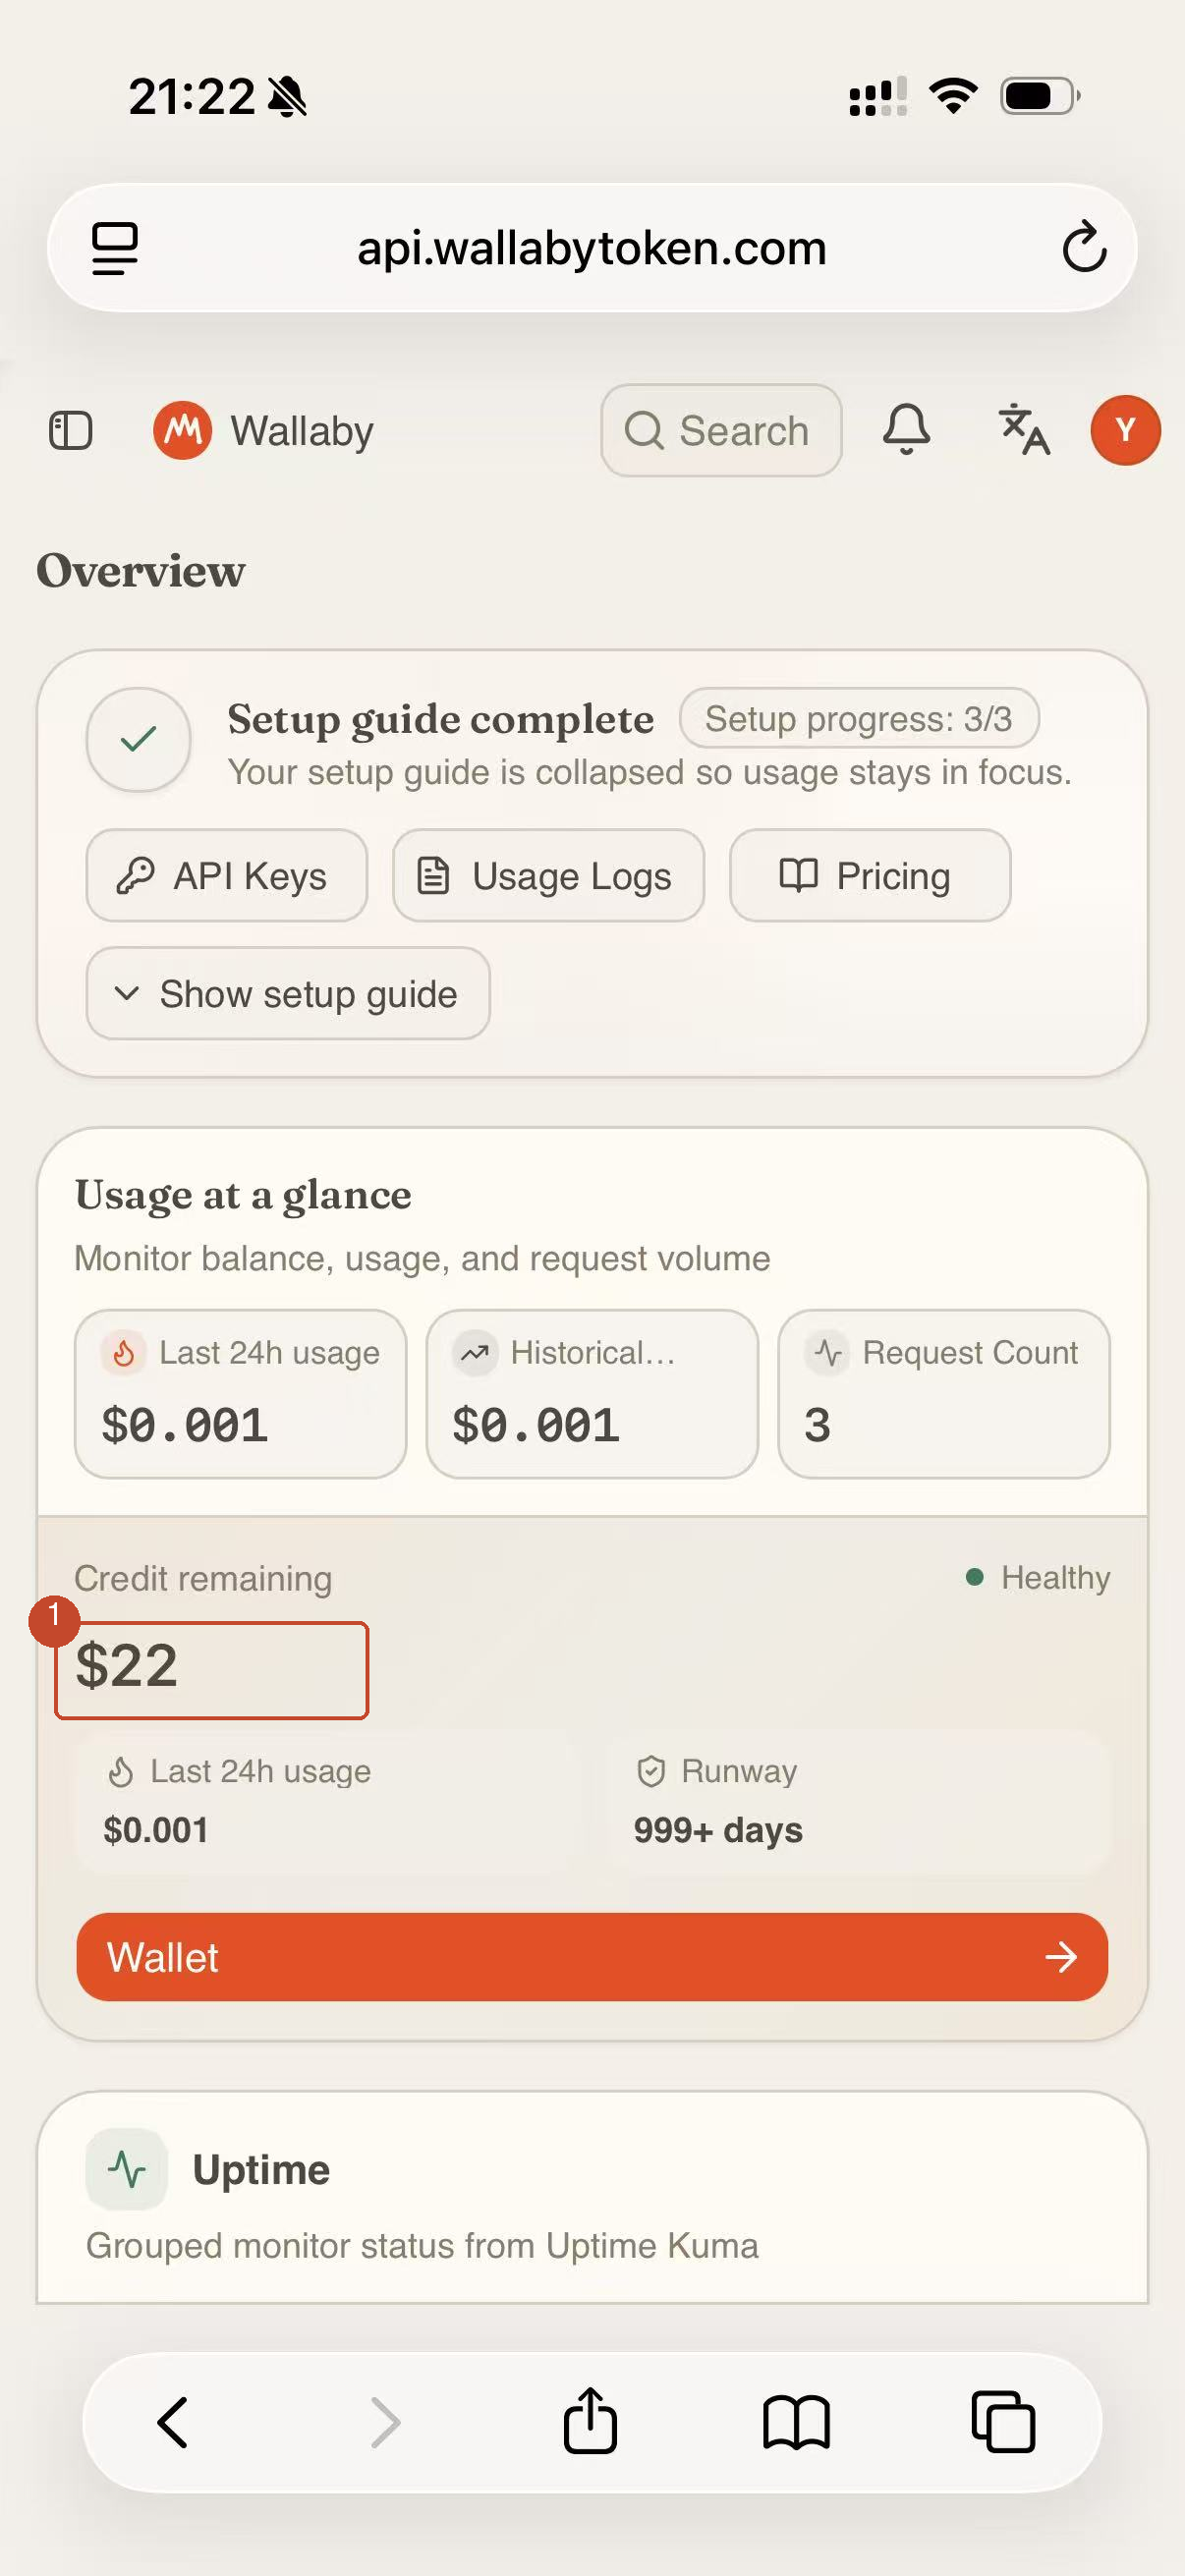
Our test account predates the current onboarding rule: it started with $1.00 in trial credit, and under that older rule a $1 first-top-up bonus also landed after we paid $20 — hence the $22 shown above.
What the payment rail actually costs (and why the $20 minimum)
Transparency cuts both ways, so here are the real numbers from our test top-up. On a $20.00 payment, the payment processor charged $1.00 in total — $0.91 in processing fees plus $0.09 Australian GST on that fee — leaving $19.00 net. That is roughly 5% all-in.
Part of every card fee is a fixed per-transaction component, which is why small top-ups are uneconomical: on a hypothetical $5 top-up the same fee structure would eat a double-digit percentage of the payment. The $20 minimum keeps the fee share reasonable, reduces micro-charge card-testing abuse, and keeps support cost per transaction sane. The $0.50 trial credit exists precisely so you can evaluate the API before any payment at all — how the trial credit works and what it buys. What the tokens themselves cost is a separate question — our Kimi K3 API pricing comparison covers 18 providers with cached-input pricing broken out.
Pitfalls, collected in one place
- Pop-up blocked: allow pop-ups for the site, then retry (step 3)
- Card declined: domestic-only debit cards often fail international charges; use a card with international online payments enabled, or Apple Pay / Google Pay
- Currency: USD only; your bank handles the conversion at its own rate
- Balance not updated: wait ten seconds and refresh; if it still has not landed, contact support with the payment time — every payment is reconciled against processor records